I just love how bright & cheery these sun suncatchers make our room look! During the end of the school year, there is a lot of excitement about the upcoming summer months and the warmer weather. Therefore, I like to harness that enthusiasm and do a unit on the sun. We go outdoors and do a lot of fun, hands-on sun science experiments and also learn about how to protect ourselves from the sun’s UV rays. And of course we decorate the room with sun crafts! This is one of my favorites!

Materials Needed:
Free printable patterns
Contact paper
Scissors
Orange tissue paper
Yellow tissue paper
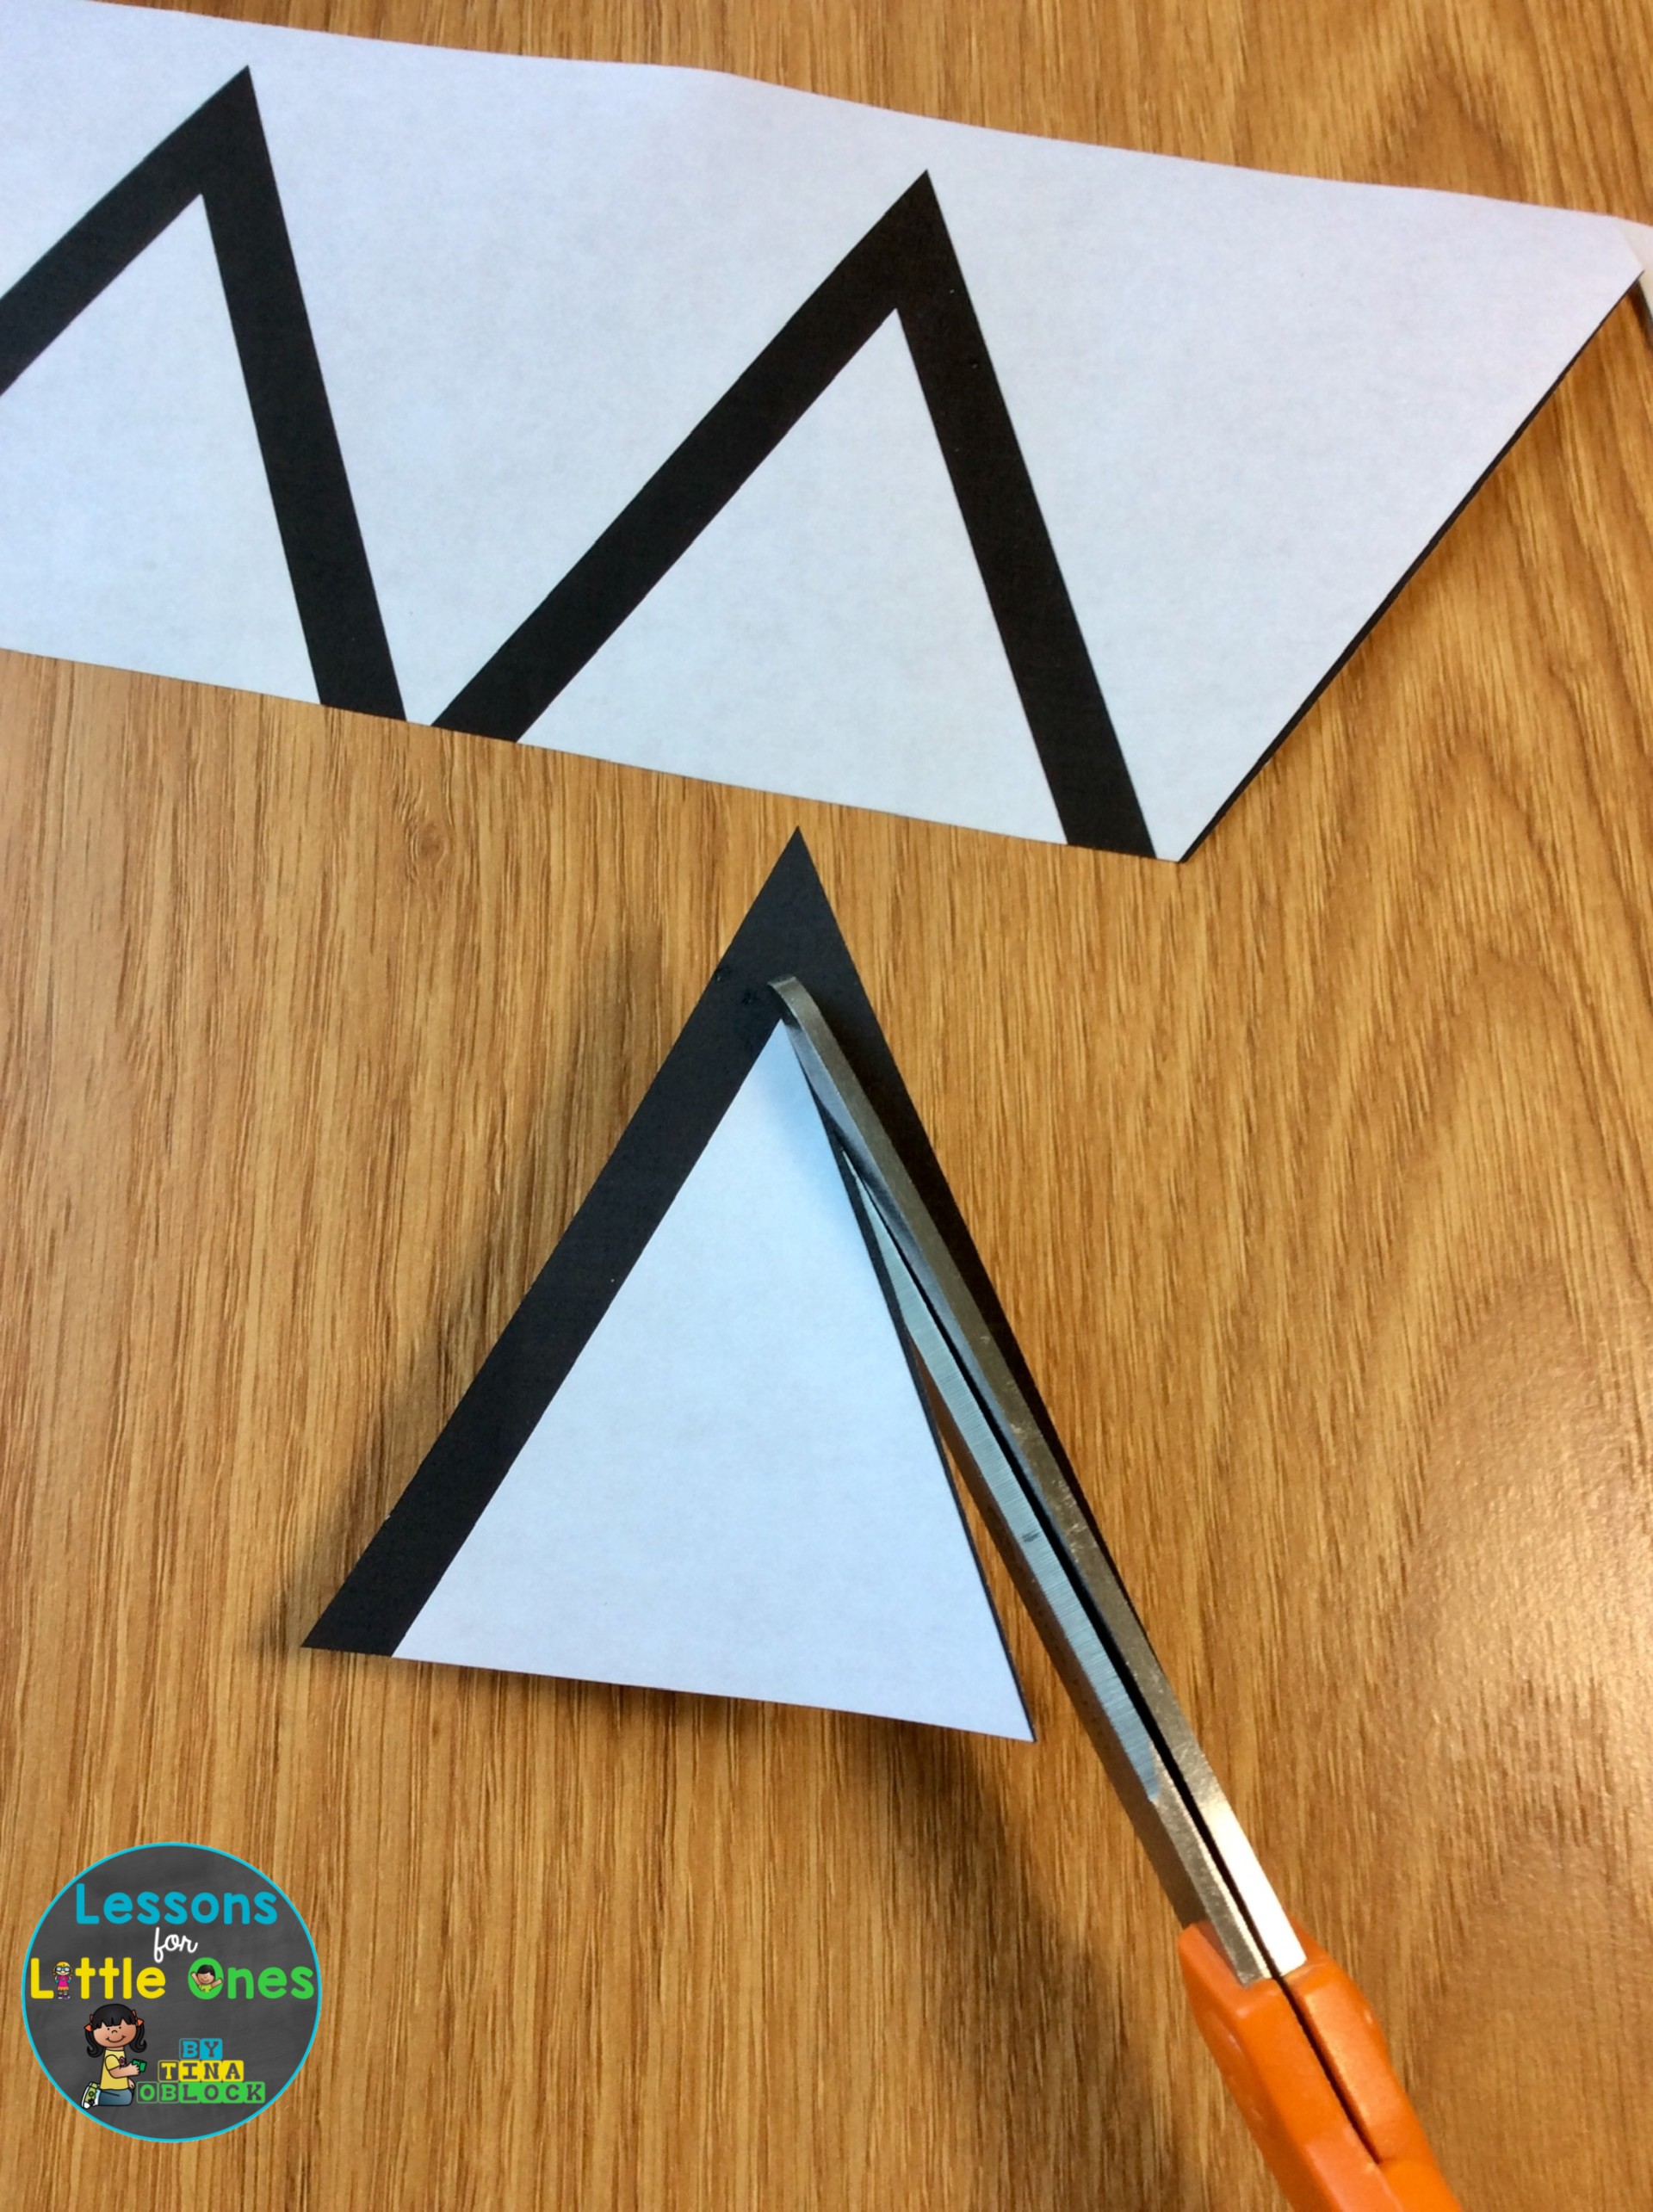
Print the free printable suncatcher patterns (I use a thicker paper like card stock or construction paper).
Cut out the circle and triangles. Cut out the insides as well. The circle can be folded in half to make cutting out the inside easier.


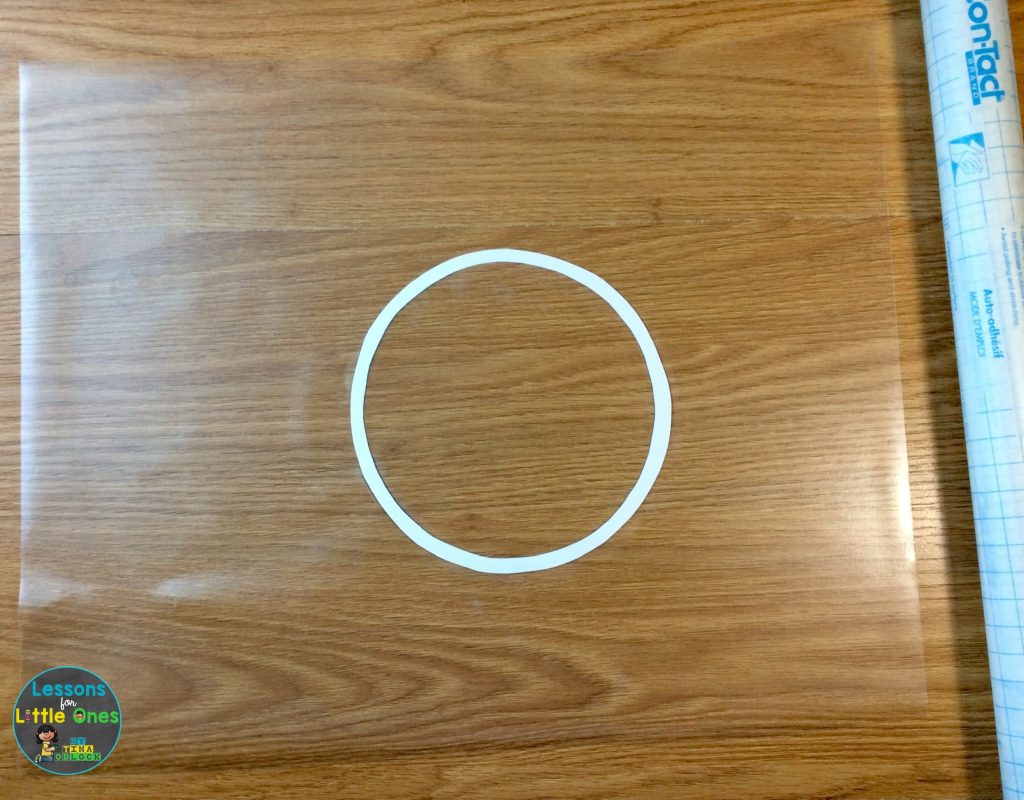
Place the circle, black side down, in the center of a piece of contact paper on the sticky side.
Place the triangle pieces around the circle to resemble a sun, black sides down.

Cut out orange and yellow tissue paper squares.
Arrange the tissue paper squares on the sun. It is OK if students place them outside the lines. You will be cutting the suncatchers out.


Place another piece of contact paper on top, sticky side down, and smooth it out (sandwich the suncatcher between the 2 pieces of contact paper).
Cut out the sun. Hang on a window or from the ceiling.