Did you know that you can choose exactly which Boom Cards students can see in their decks or control the numbers of cards they play?
This can be a game-changer if you only want to assign certain letters, numbers, sight words, etc. from a Boom Card deck as you are teaching them or only wish to assign part of a deck because completing the entire deck may be too overwhelming for your students.
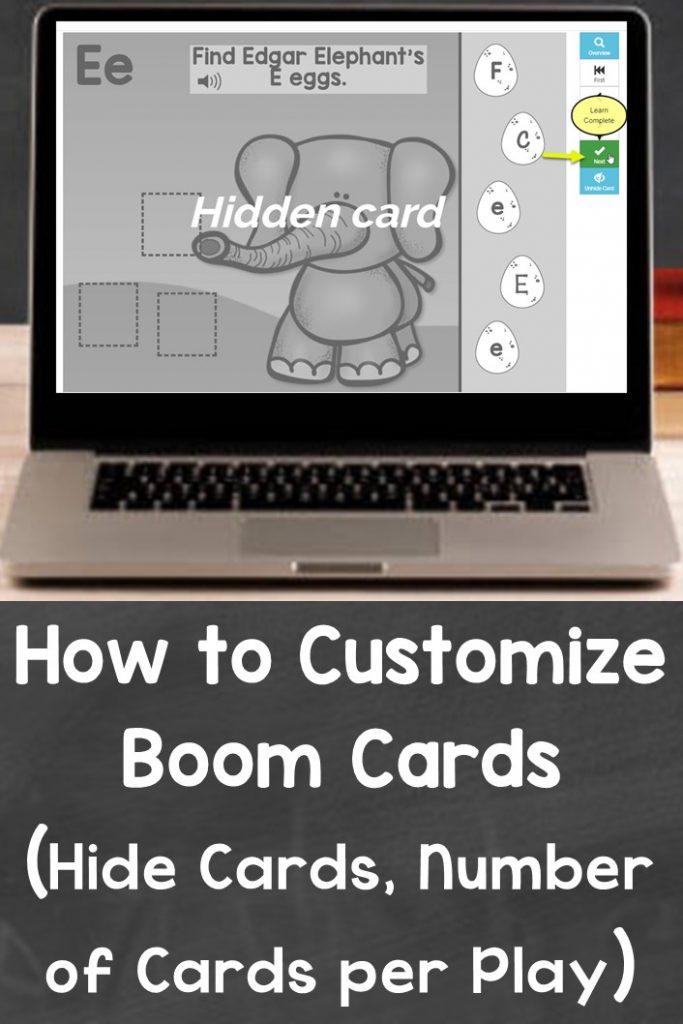
Well, now you can customize any Boom Card deck for your students and I’m going to show you how in this post!
How to Hide Cards in a Boom Card Deck
If you only want to assign certain cards from a Boom Card deck to your students , you can use the Hide Cards option. Hidden cards are not shown to your students.
Please note that the hide card feature works when assigning the deck to your class and with Hyperplay links. It does NOT work with Fast Pins.
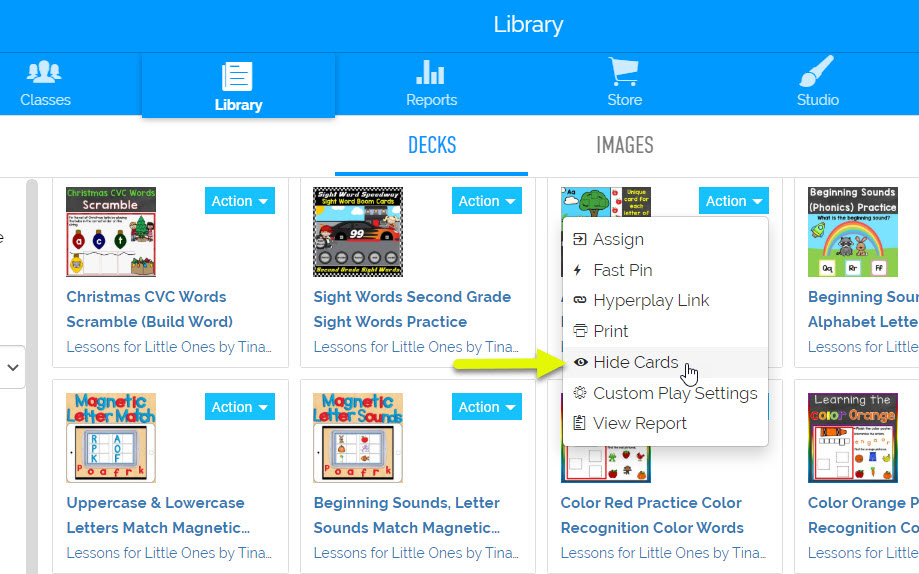
Sign in to your Boom account and click the Library tab at the top.
Find the deck you wish to edit and click the Action button beside it.
Choose the Hide Cards option in the pull-down menu.
A pop-up window will appear that explains hidden cards are hidden from all students. Therefore, every student to which you assign the cards will not see the hidden cards.
This feature is good to use when you are introducing alphabet letters and only want your students to practice the letters you have covered or when you are working on numbers and you only want to assign numbers 1-10 at first and hide numbers 11-20 or you only want to assign specific sight words from a deck, etc.
Click Yes.

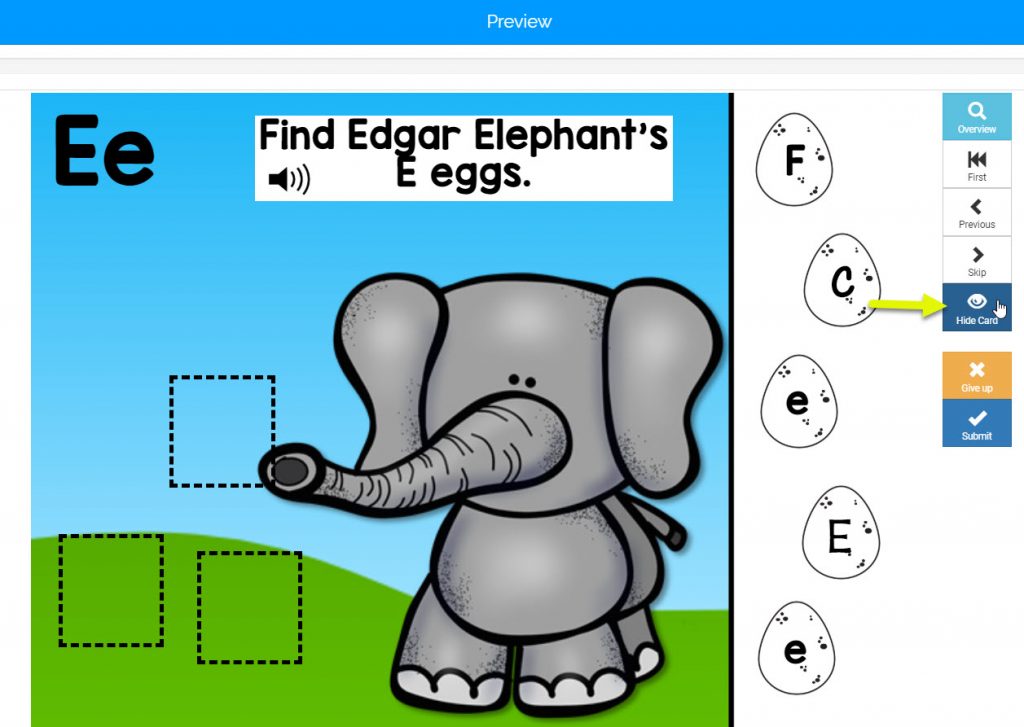
You will be shown a preview of the deck.
Click the Hide Card button on the right for each card you wish to hide from students.
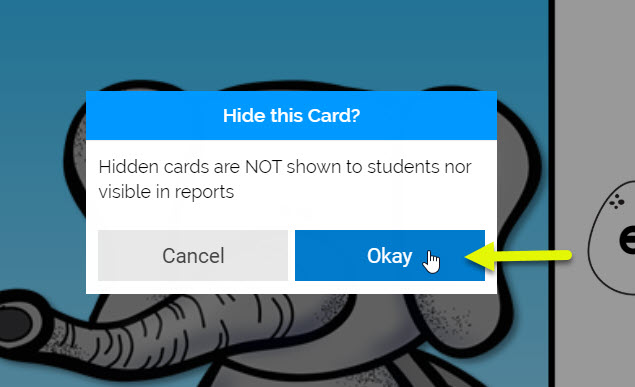
A pop-up window will appear to remind you that hidden cards will NOT be shown to students or visible in reports.
Click Okay.
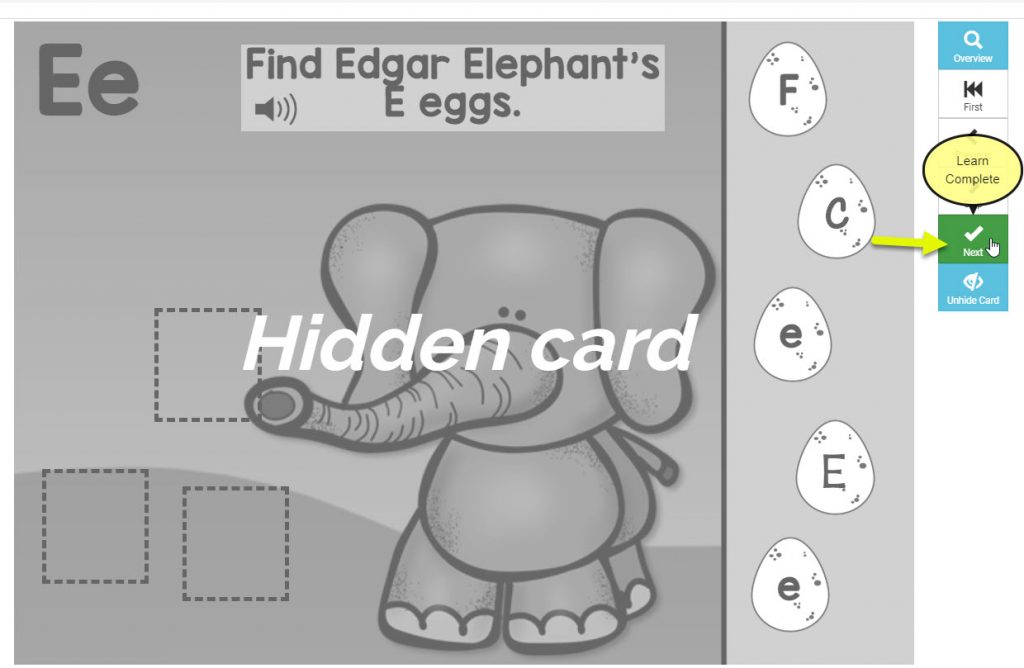
The card will turn grey and say “Hidden Card”.
Click the green Next button on the right side to go to the next card.
For every card that you wish to keep in the deck, click the Skip button on the right side.

Go through the deck either clicking the Hide Card button or the Skip button for each Boom Card.
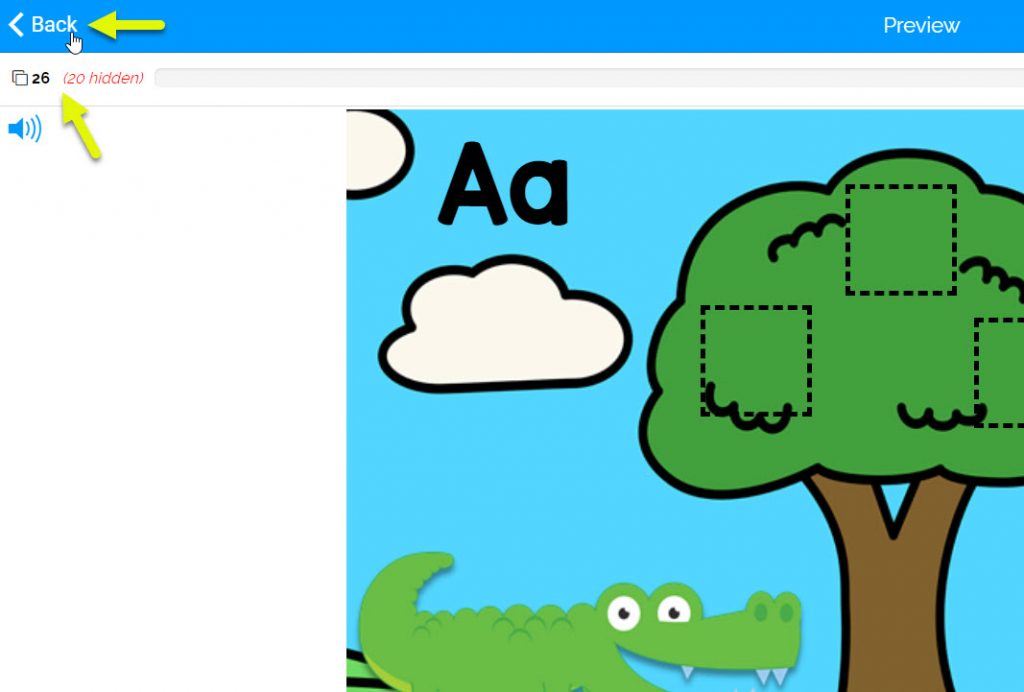
When you are finished editing the deck, in the upper right hand corner you will see the total number of cards in the deck and then the number of hidden cards in red.
Click the Back button in the upper right corner to go back to the Library and assign the deck to students.
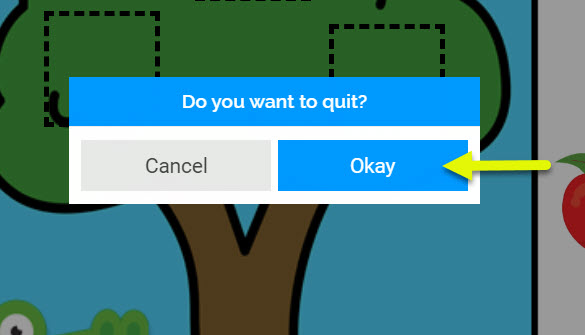
You will see a pop-up window asking if you want to quit the preview.
Click Okay.
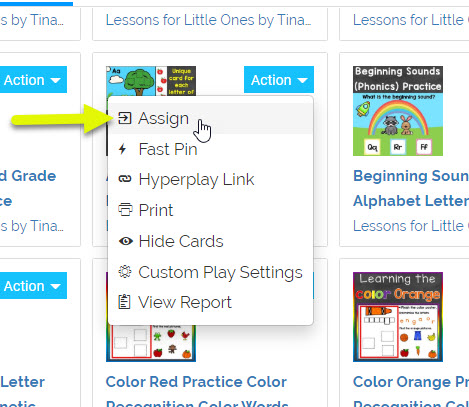
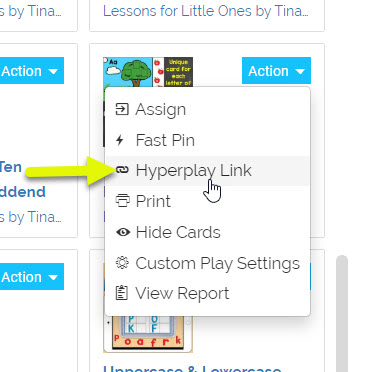
Once back in the Library you can assign the revised deck to your students by clicking the blue Action button beside the deck and clicking Assign in the drop-down menu OR you can use the Hyperplay Link and send the link to your students via Google Classroom, email, etc. Do NOT use the Fast Pin feature (hidden cards do not work with Fast Pins).
How to Customize the Number of Boom Cards Per Play
If you have a Boom Card deck that has a large number of cards and you wish to limit the number of cards that students play each time, you can do that with the Custom Play Setting feature.
Please note that this feature works when assigning the deck to your class and with Hyperplay links. It does NOT work with Fast Pins.
Sign in to your Boom Learning account and click the Library tab at the top.
Find the deck you wish to edit. Click the blue Action button beside it.
Click on Custom Play Settings in the drop down menu.

A Custom Play Settings pop-up menu will show.
Click on Number of Cards per Play.
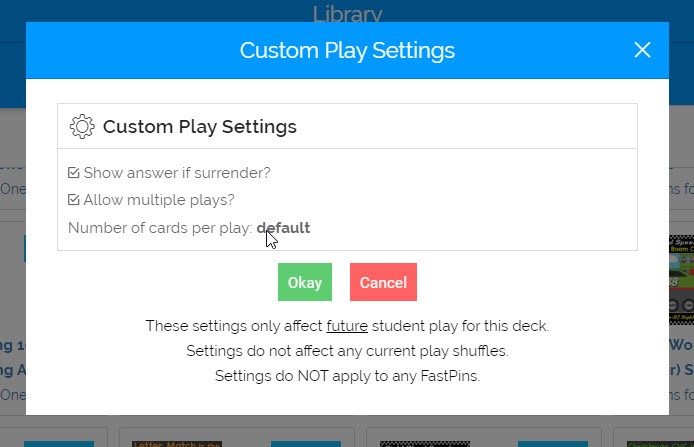
Under the Set Cards per Play box, type in the number of cards you would like to show per play.
Click Okay.

Your number should now be shown beside Number of cards per play.
Click Okay.

You can now assign the deck to your students using the Assign feature or the Hyperplay Link feature and they will only be able to play the customized number of cards each play.
If you have any questions, please feel free to email me at lessonsforlittleones@gmail.com.
You may also like:
How to Use Boom Cards in Google Classroom
How to Use Boom Cards in Seesaw
Engaging, Self-Checking Skill Practice with Boom Learning