
As teachers, we spend so much time preparing engaging lessons, creating thoughtful routines, and building a welcoming classroom community—but one small detail that often gets overlooked is helping our students stay hydrated throughout the day.
I’ll admit, I didn’t always prioritize this either. But once I started realizing the benefits of staying hydrated for my own health (less headaches & leg cramps, improved energy & digestion), I realized the importance of instilling this healthy habit in students as well. I understood the difference a simple hydration station could make in students’ focus, energy levels, and overall health.
Here’s why it matters—and how you can set one up in your own classroom without adding extra stress to your already full plate.
Why Hydration Matters for Young Learners
We know how important water is for the body—but did you know it also plays a huge role in learning?
Here are just a few ways staying hydrated benefits our students:
- Improves focus and attention
- Supports brain function and memory
- Reduces headaches and fatigue
- Helps regulate emotions and mood
- Prevents unnecessary nurse visits for minor complaints
And let’s be honest—when students don’t have regular access to water, it can lead to a parade of interruptions and bathroom requests. A hydration station can be a game-changer for managing that in a structured, age-appropriate way.
What Is a Classroom Hydration Station?
A hydration station is simply a designated space in your classroom where students keep their water bottles and are taught when and how to use them responsibly.
It empowers students to stay hydrated without disrupting instruction or constantly needing reminders. When done well, it becomes just another part of your classroom routine—and students love it!
Tips for Setting Up a Hydration Station
Ready to try it? Here are some teacher-tested tips that will help your hydration station run smoothly from day one:
1. Choose a Consistent Spot
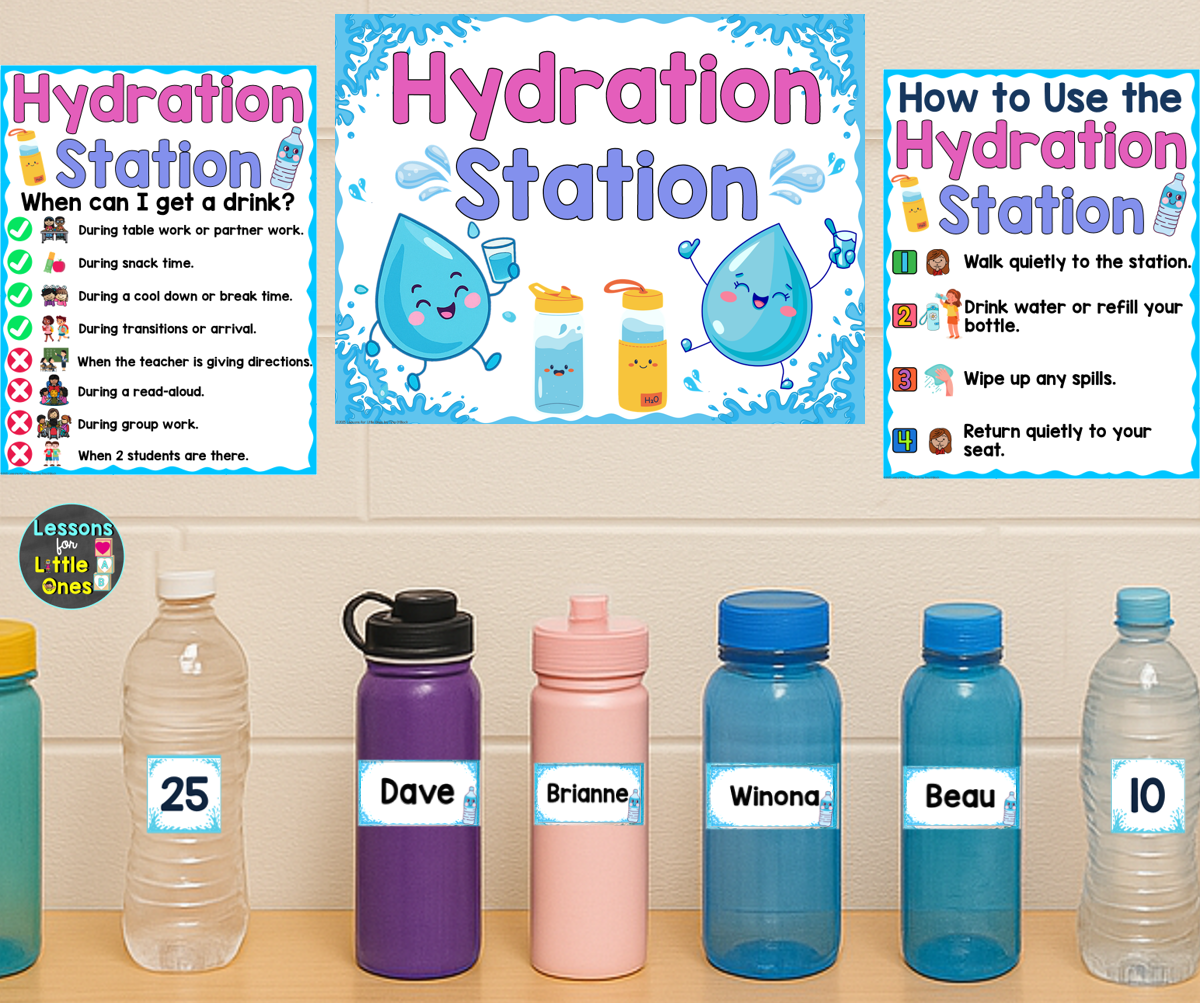
Pick a low-traffic area like a small shelf, cart, or table where all student water bottles can be stored. Label it clearly so it’s easy to find and feels like a “real” part of your classroom setup.
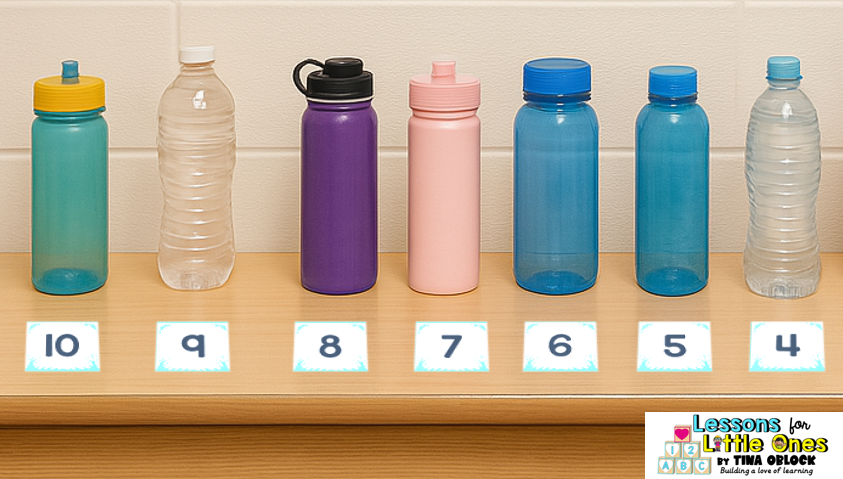
2. Use Student Names or Numbers
Labeling bottles helps prevent mix-ups and teaches responsibility. I like using editable name or number labels (great for privacy or if you use a student number system).

If you’d rather not place labels directly on student water bottles, you can place them on the table to show where each bottle belongs.
3. Teach Expectations Early
Take time to model and practice when students are allowed to get a drink. A visual “When Can I Get a Drink?” chart can be a huge help—especially for non-readers.

4. Use Visual Supports
In early grades, students rely heavily on picture cues. Posters with both text and simple images make routines more accessible and help your students become more independent.

5. Reinforce the Habit
Some students forget to drink water unless prompted. Using gentle reminder cards as nonverbal cues minimizes disruptions. It’s also fun to celebrate great habits with a “Hydration Hero” award!

Start Small and Make It Your Own
Whether you have a fancy water bottle cart or just a spot on a bookshelf, the most important thing is creating a space that helps students stay healthy, focused, and independent.
It doesn’t have to be complicated—but it can make a big impact.
Want to Save Time Setting Up Your Classroom Hydration Station?
If you’re looking for a ready-to-go set of editable labels, visual signs, posters, cards, awards, and routine charts, I’ve put together a Hydration Station Classroom Pack that includes everything you need to get started. You can learn more about it right here or by clicking the cover image below.


Pin it for later!
