If you’ve been working on scissor skills since the beginning of the year, you’ve probably seen a lot of growth — and maybe a few stubborn habits that still need some refining. By winter, most preschool, pre-k, and kindergarten students are more comfortable holding scissors, but they still need lots of guided practice to build confidence, control, and stamina.
That’s why I love using Christmas and winter-themed cutting pages and crafts during this time of year. They’re fun, seasonal, and give students a chance to practice with a purpose — while creating something they’ll be proud to show off.
Tips for Teaching Scissor Skills In Winter
Even mid-year, many students still need reminders about proper cutting form and technique — especially after winter break! Here are some helpful tips I like to reinforce during winter cutting activities:
- Use Tongs at the Start – If you have very young students or students who are struggling with squeezing the scissors, have them use tongs first. Picking up small items with tongs mimics the hand movements needed for cutting and helps strengthen those fine motor muscles.
- Thumbs Up – Remind students to keep their thumb in the small hole of the scissors, pointing up toward the ceiling. “Thumbs up when we cut!” is easy to remember and reinforces correct hand positioning.
- Helper Hand (Use Two Hands) – Remind students to always use two hands when cutting. The non-cutting hand should hold and turn the paper while they are cutting. It should also be “thumbs up”.
- Short snips first. Start with short cuts on larger, sturdier pieces before moving on to smaller, trickier shapes. Have them cut small scraps of construction paper, paper plates, or play dough. Then, they can move on to more complex shapes.
- Cut slowly. Encourage students to take their time, especially with wavy or curved lines.
- Celebrate progress. Each cut is progress! Celebrate effort — even if it’s not perfect. Kids light up when their snowmen or crafts come together through their own cutting.
Cutting Practice in Winter
By winter, most students have had plenty of exposure to scissors — but they still need lots of guided practice to build confidence, control, and stamina. I’ve found that cutting is much more engaging when it leads to a finished project, not just scraps of paper or random dotted lines.
That’s why I love using Christmas and winter cutting practice pages that combine skill-building with simple crafts students can take home. It gives their practice a purpose and makes fine motor work feel meaningful and fun.
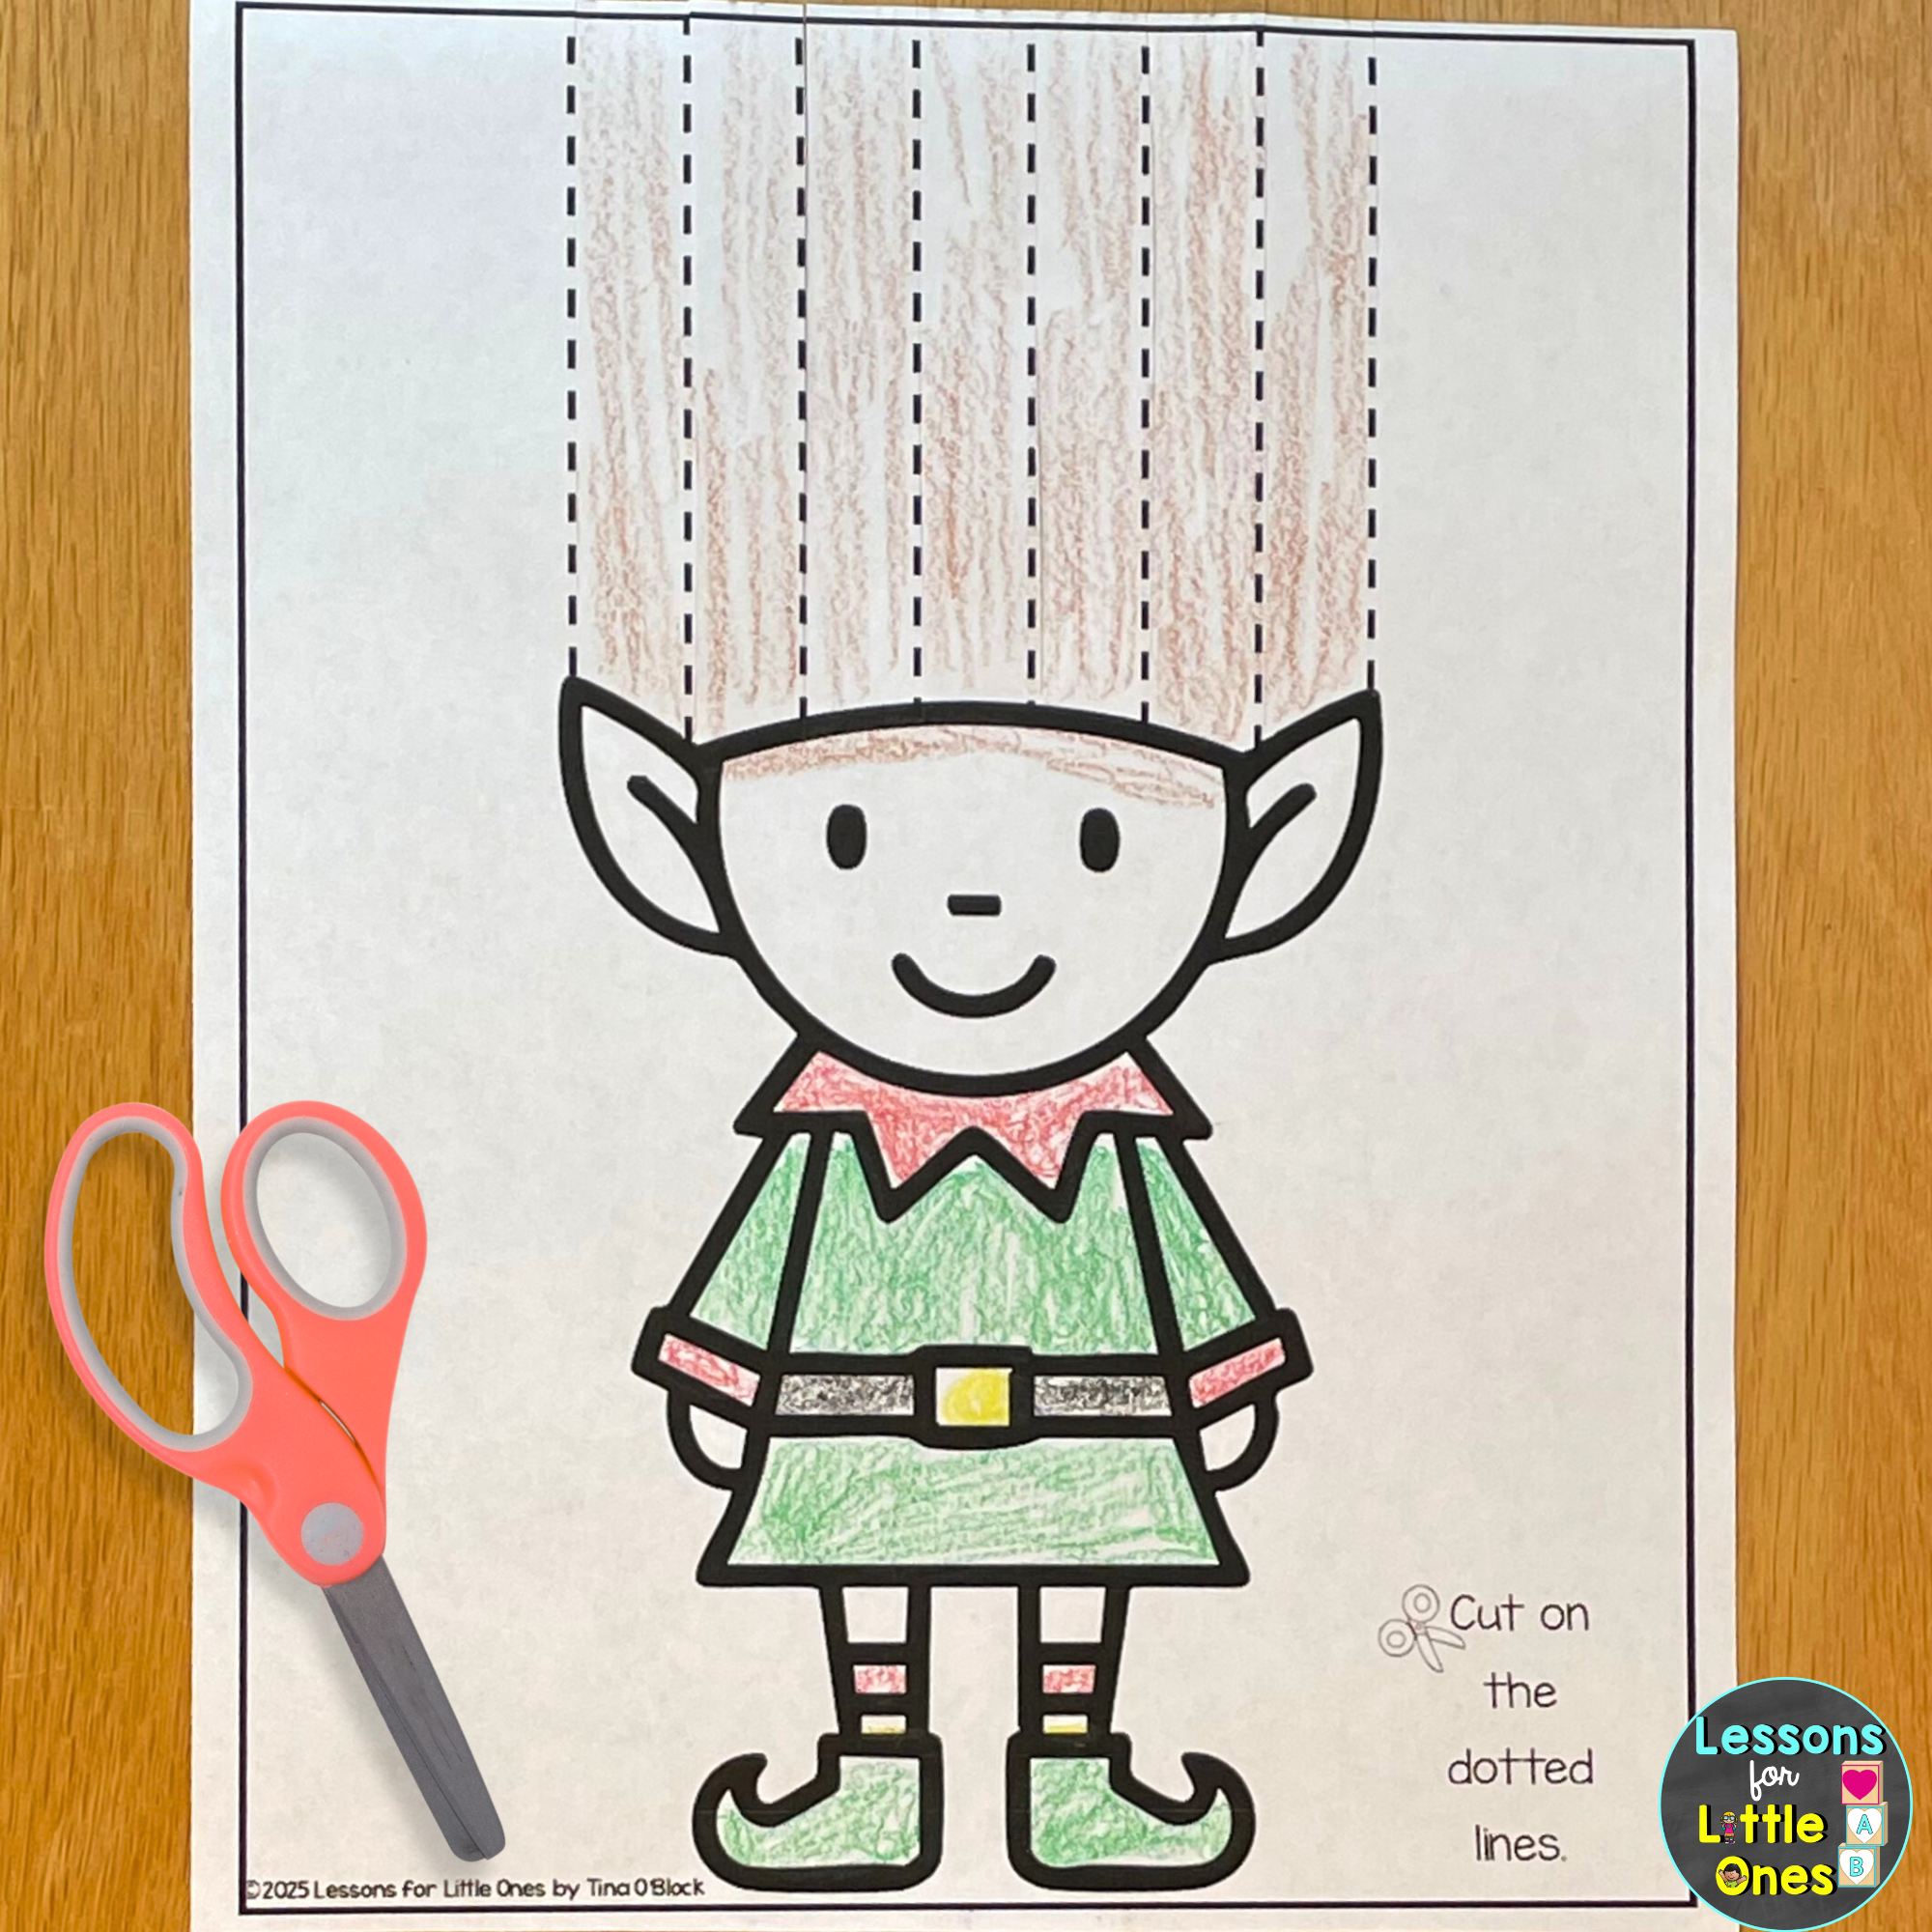
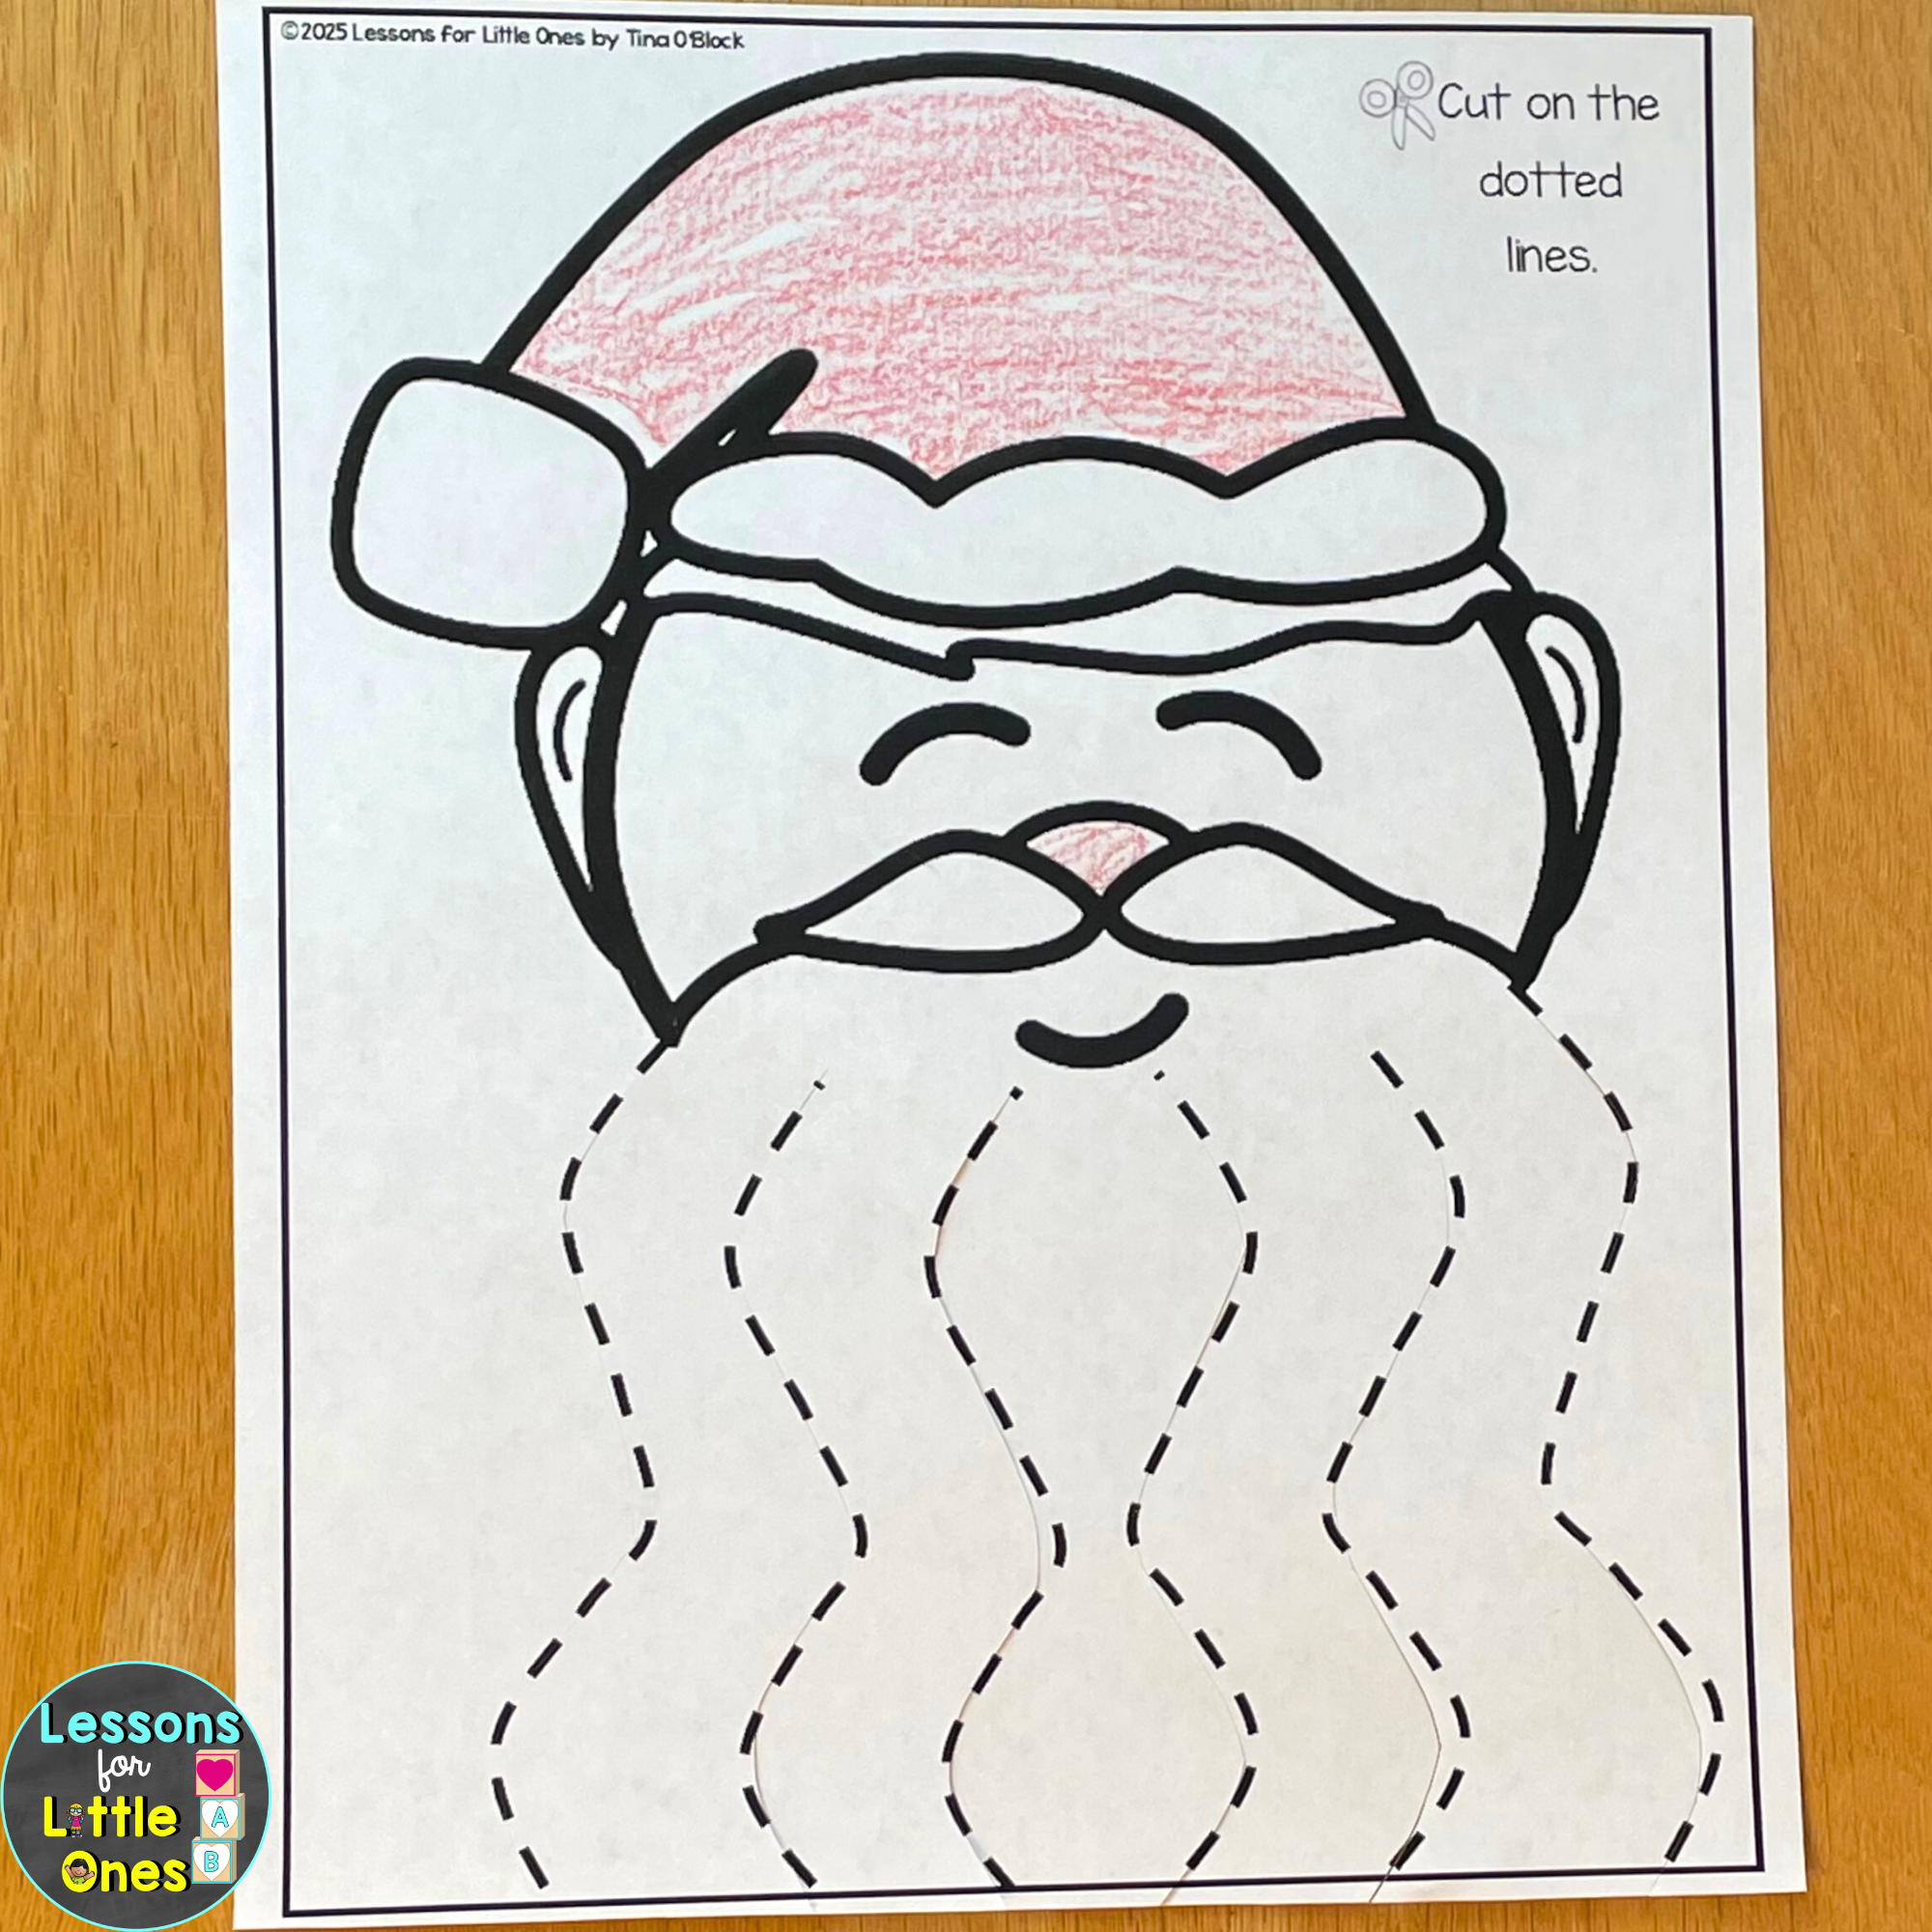
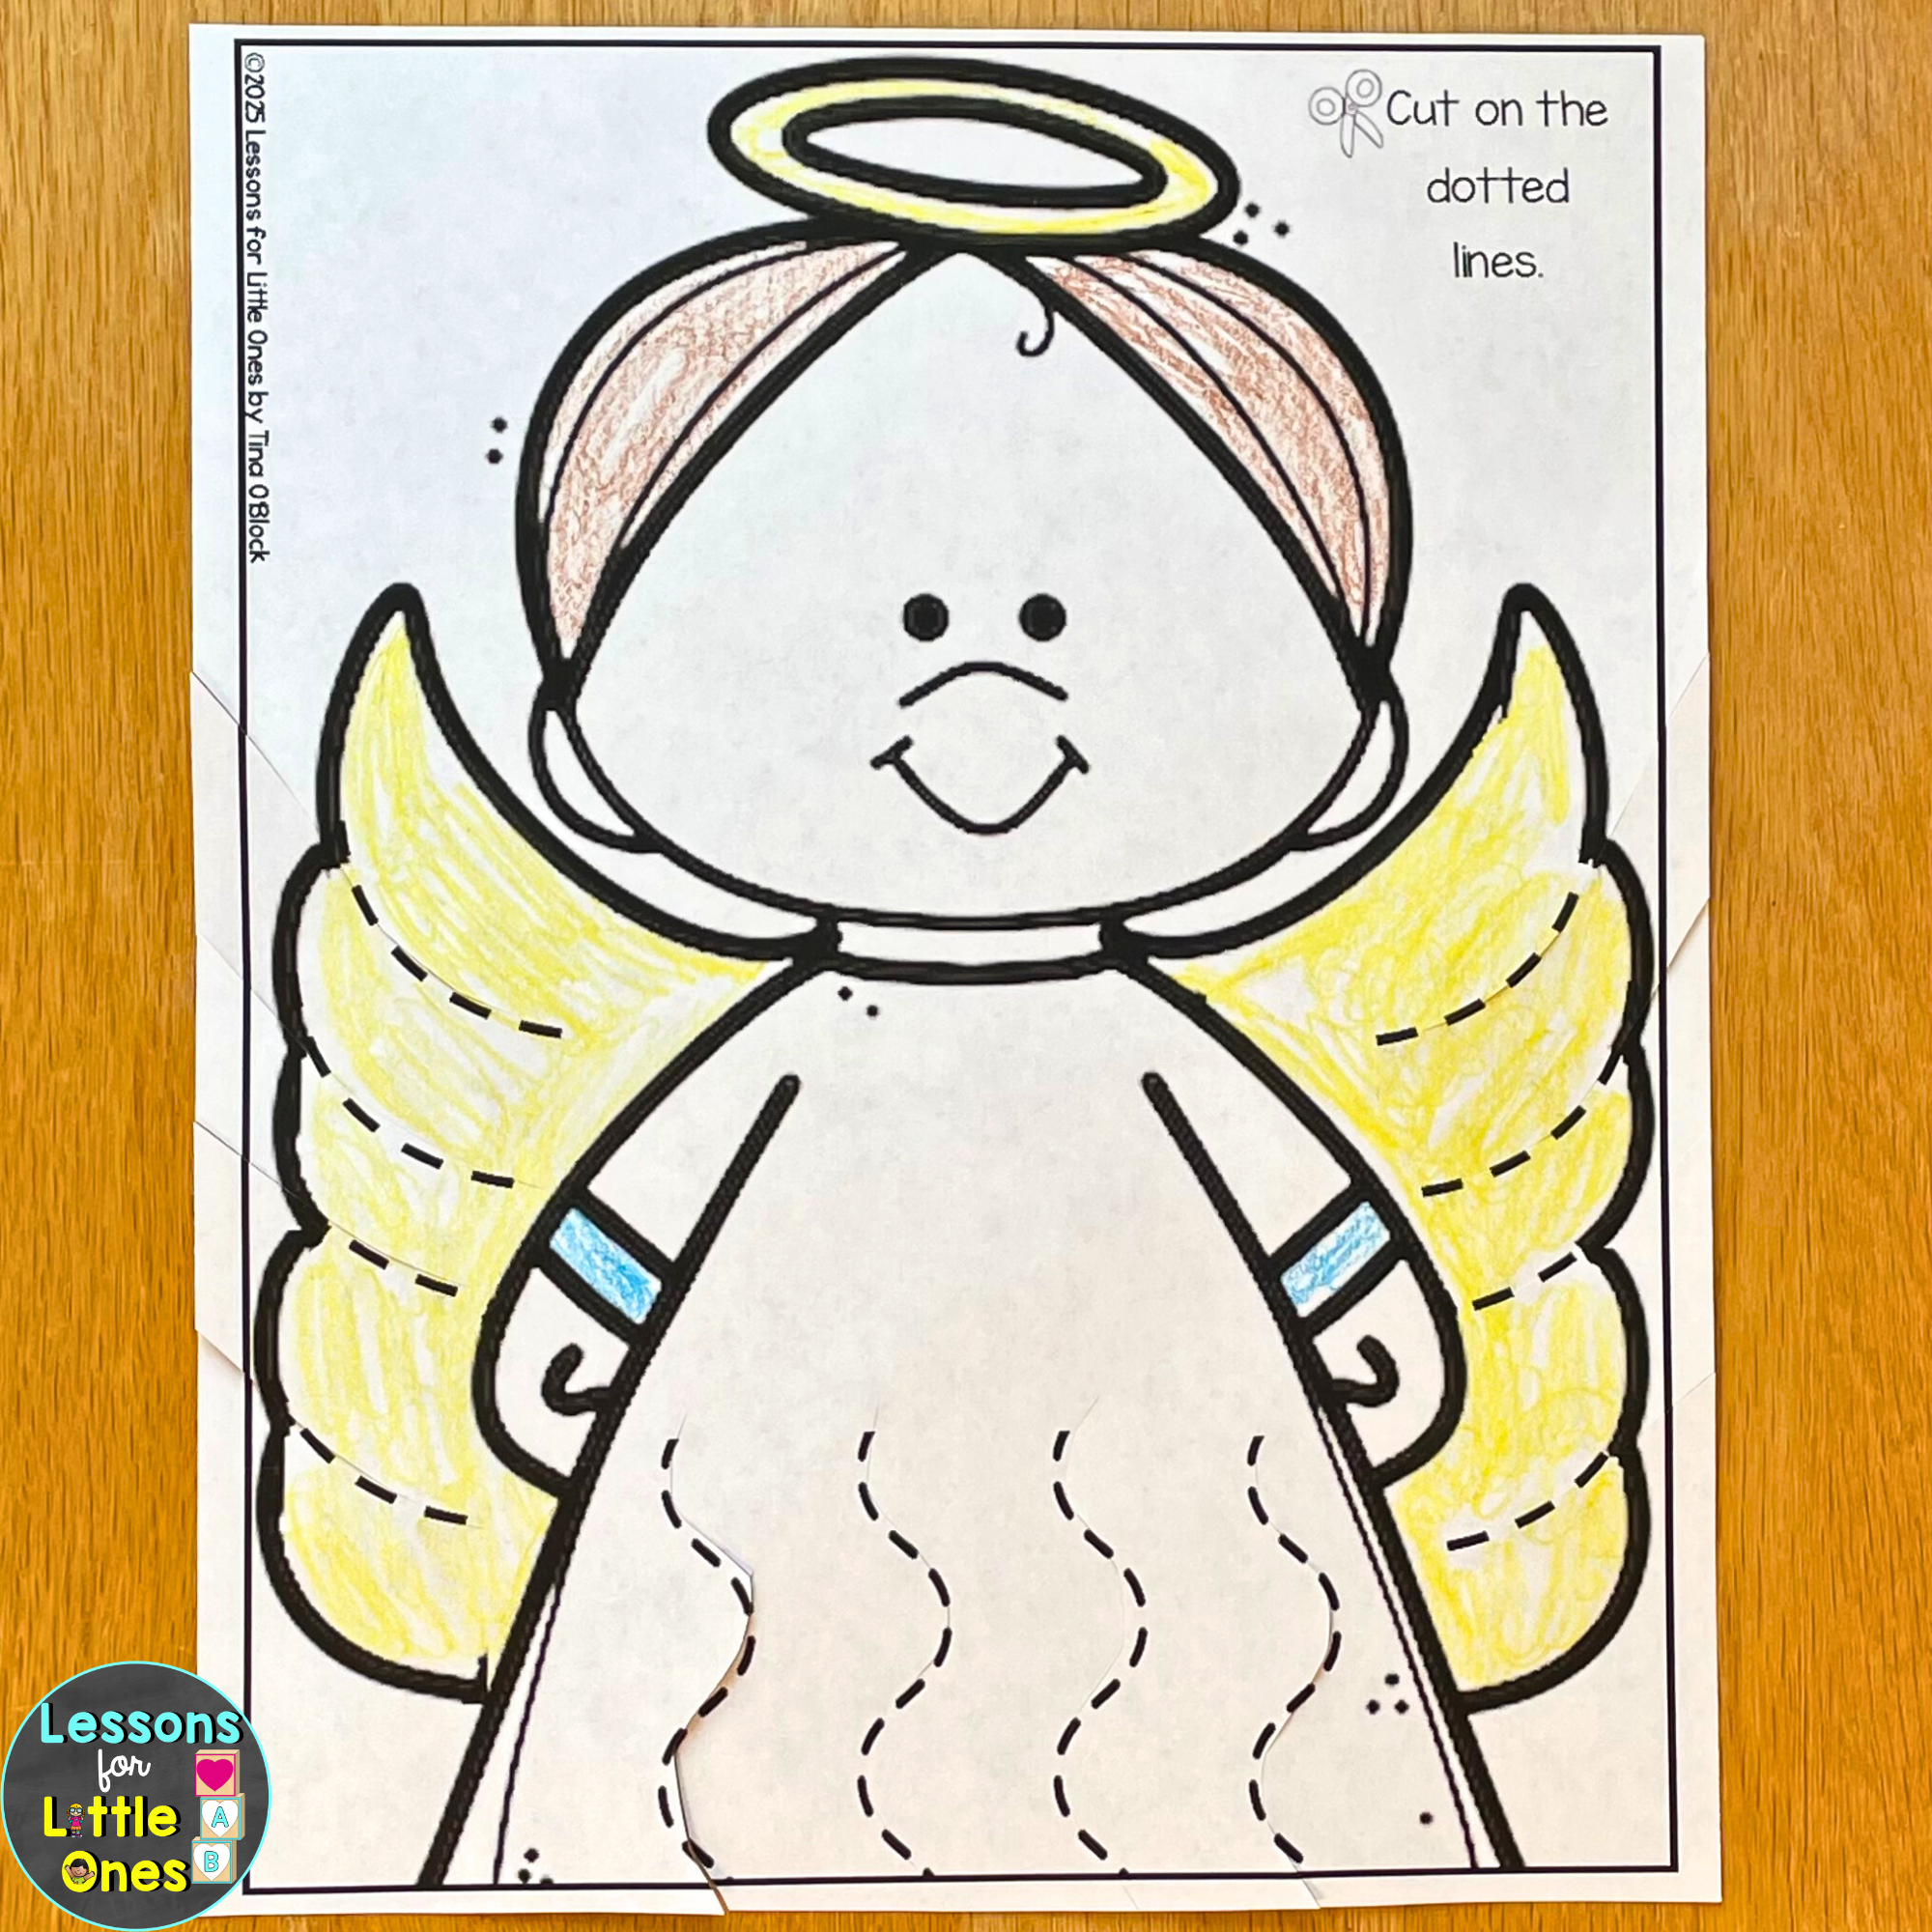
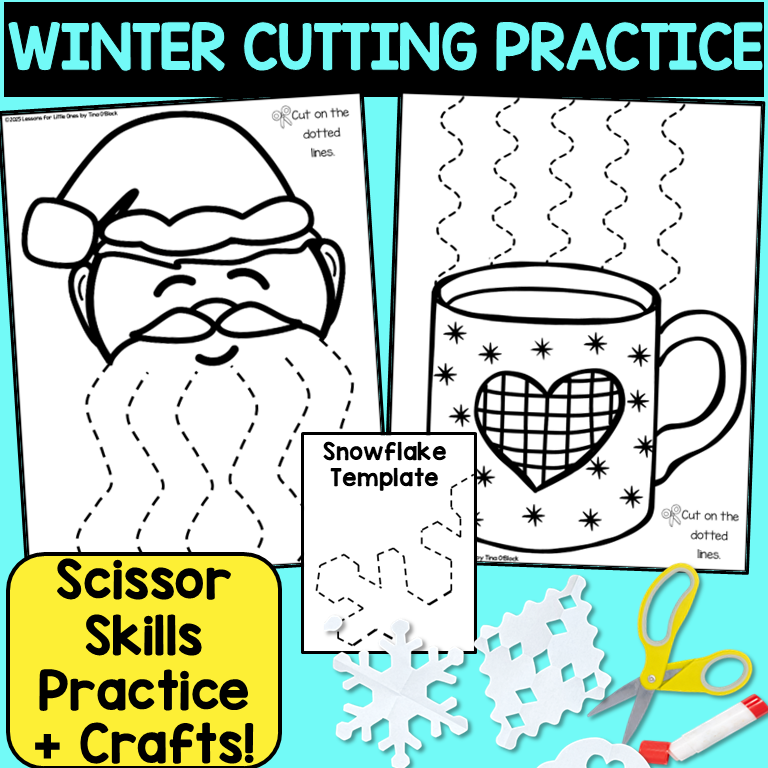
We start the season with straight and slightly curved lines, often paired with coloring. For example, students might cut along the dotted lines of Santa’s beard, angel wings, or trim elf hair to reveal a finished picture.
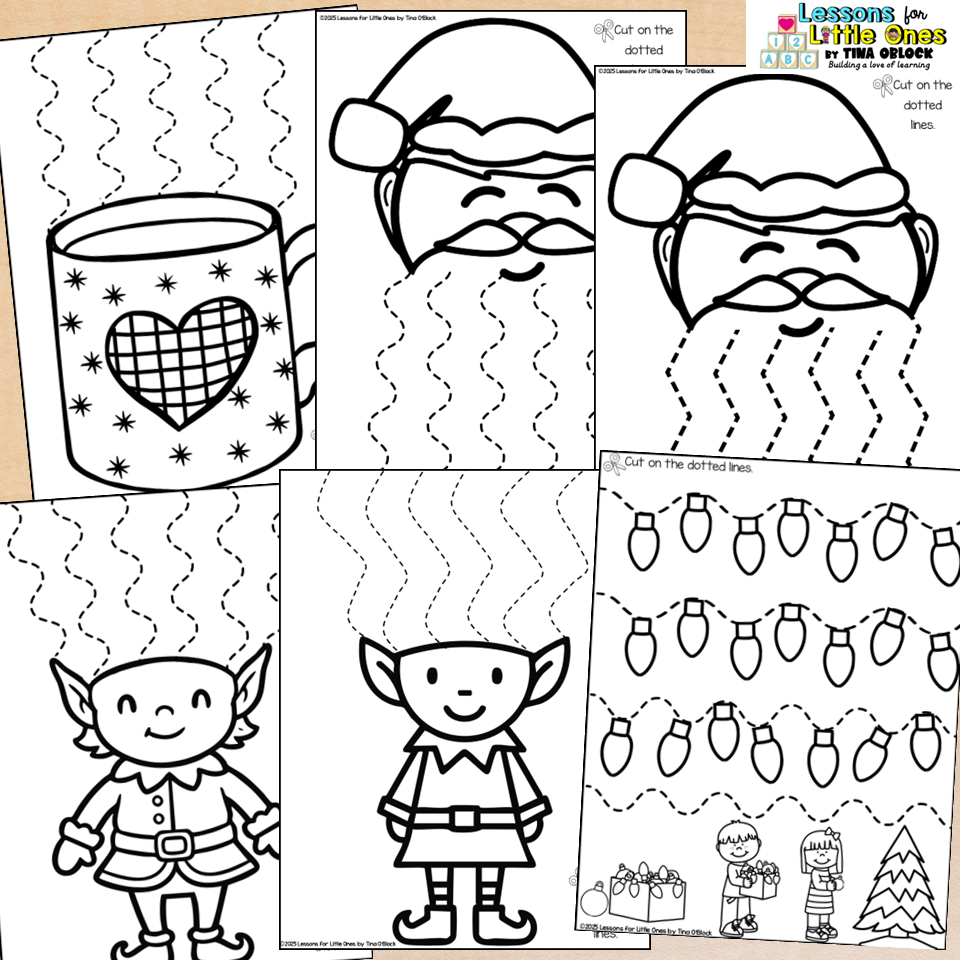
As they grow in confidence, we move on to wavy and zig-zag lines.
Once students are more confident with cutting, we move on to a student favorite – cutting out snowflakes! I always use the easy 2-fold method and provide a number of differentiated snowflake templates to accommodate all cutting abilities. Students LOVE making these and they make the room look so festive!


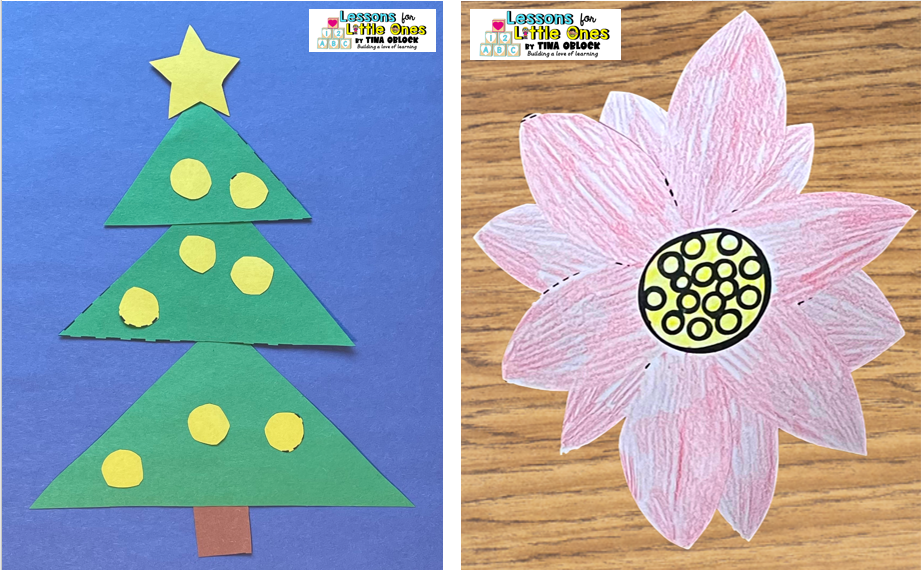
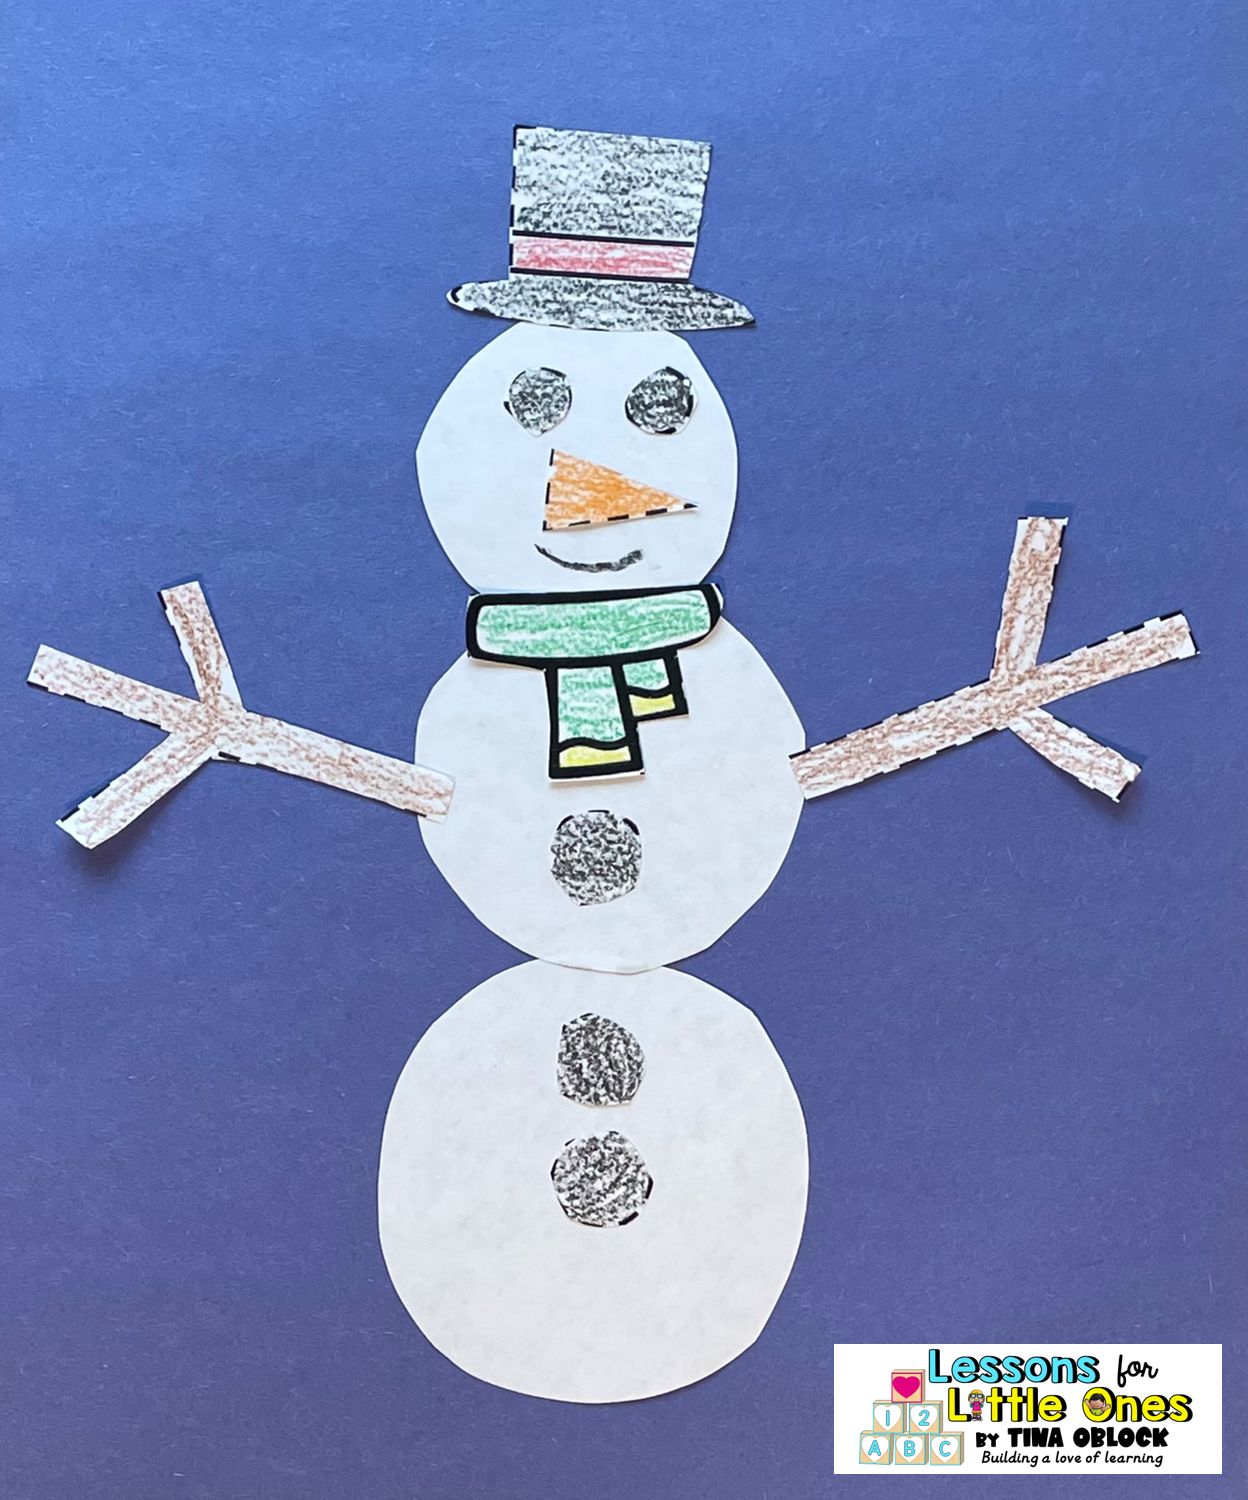
Next, we transition into cut-and-glue crafts. This stage reinforces scissor control and introduces simple assembly skills — like building a snowman, layering a poinsettia, or decorating a Christmas tree.
Teaching Gluing Skills
By winter, most students have been introduced to glue, but many still need guidance to use it neatly and effectively — especially as we move into more detailed cut-and-glue crafts.
Here are a few gluing tips I like to reinforce this time of year:
- “Dot, dot, not a lot.” This saying is still our go-to reminder. Small amounts are all it takes!
- Use kid-friendly tools. We continue using glue sticks, brushes, or glue sponges to keep things manageable and mess-free.
- Glue the bigger piece. I remind students to apply glue to the larger surface instead of the tiny piece they’re trying to stick on.
- Press and hold. Count to five so pieces stay put.
- Clean habits. Remind students to close the glue stick or bottle when they’re finished.
By this point in the year, students are usually ready to combine their cutting and gluing skills into complete seasonal projects – cutting out easy shapes and gluing them into completed projects. These winter-themed crafts give them continued practice with a clear goal and something fun to share or display.
The poinsettia, Christmas tree, and snowman crafts give students the chance to cut out a variety of shapes—like circles, triangles, squares, and petals—and then assemble them step by step to create a finished seasonal craft. These projects reinforce both cutting and gluing skills in a fun, purposeful way.
If you’d like ready-made Christmas and winter cutting activities, I’ve put together a set of print-and-go pages where students practice cutting dotted lines that lead to real winter projects and crafts. It’s an easy way to combine skill practice with seasonal fun.
Want more meaningful cutting practice?
Upgrade to the MONEY-SAVING BUNDLE for Fall + Winter + Scissor Salad activities!

Pin it for later!