Teaching the Signs of the Fall, Autumn Season
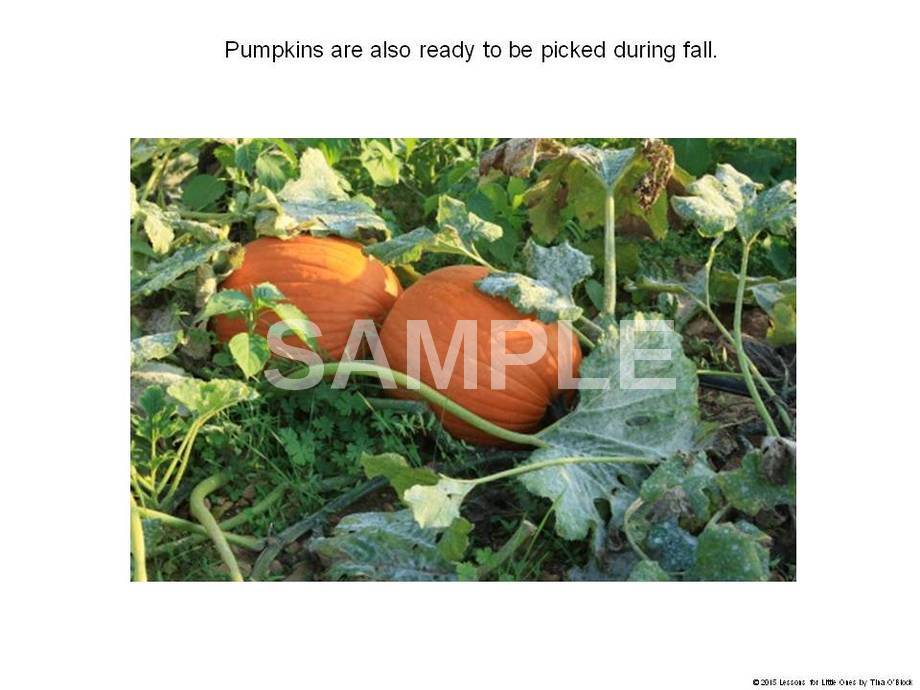
Fall is one of the prettiest seasons here in the northeast and I always love teaching young students about the fall colors and signs of the season. We start off talking about and listing things that the students already know about the season. Then, I like to show them a PowerPoint presentation that explains the fall season in very simple terms that they can understand and uses real, full-color photographs. The photographs allow them to make a real life connection from the PowerPoint to their own surroundings and environment. Here are a few sample slides:


At the end we play a little game to check their understanding. I show them the following slide:

We look at each picture and they tell me whether or not it is something we would normally see in the fall. After their response I click on the picture. A smiley face shows for fall items, an unhappy face shows for items not seen in the fall.
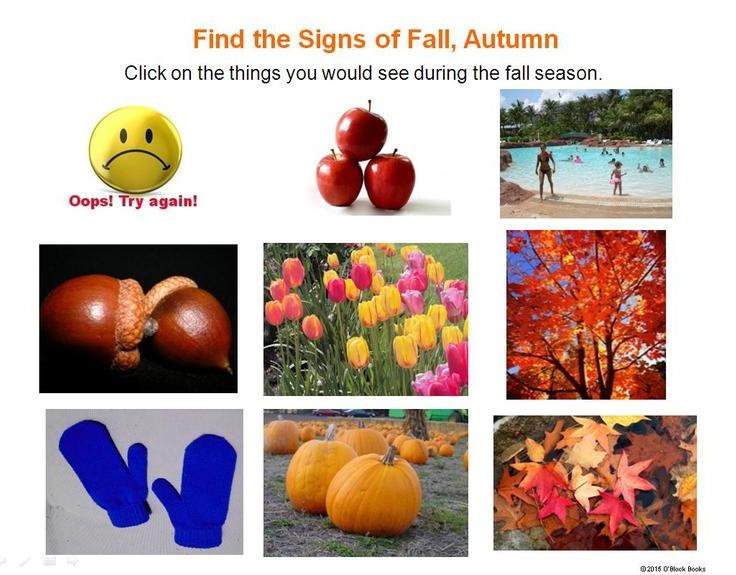
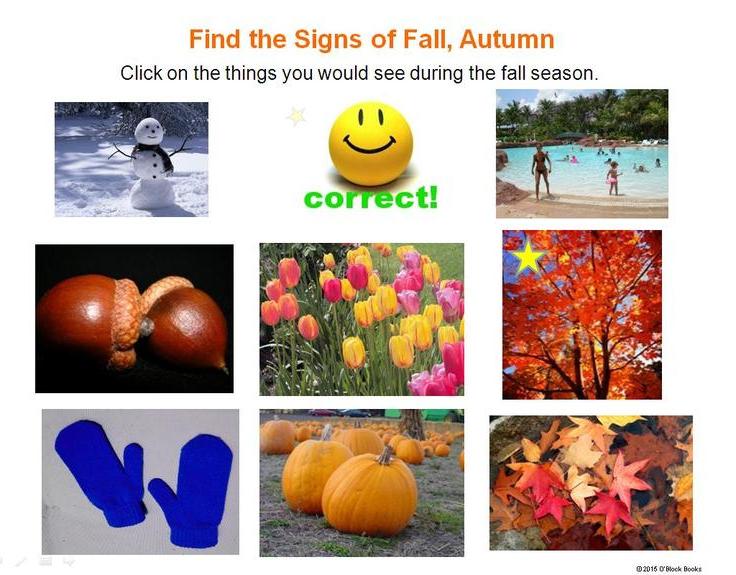
The signs of fall pictures are then given gold stars to distinguish them from the rest giving students a visual aide.

After the group activity I check individual student understanding by having each student “hunt” for signs of fall.

I upload the PowerPoint onto our class computers and allow students to access it during group or free time. They enjoy looking at the pictures and doing the “quiz” at the end. If you would like to use this PowerPoint in your classroom it is available here.
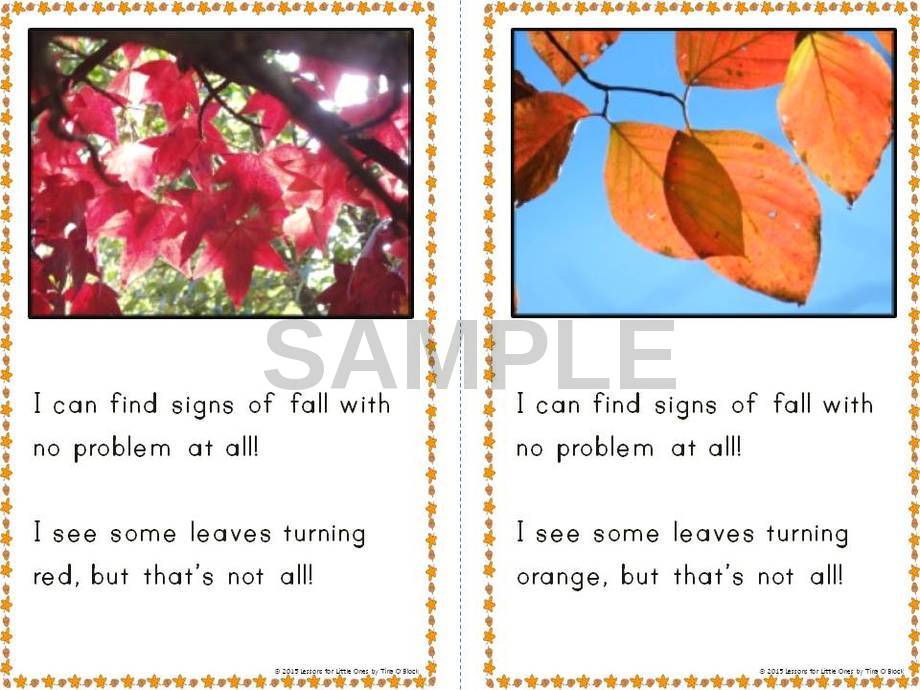
The next day we review the signs of fall by reading the following emergent reader. It coordinates with the PowerPoint and uses fun, repetitive text along with full color photographs from the PowerPoint to review the signs of fall, autumn. I read it to the students first and then we re-read it together.

The students get their own copy which is black and white. Their copy is black and white to save ink and because they like to color the pages.

We review relevant words from the reader and place them on our word wall.


During our group times the students get to make their own copies of the emergent reader. I differentiate them according to students’ ability level. Some students read the words and color provided pictures. I am able to check their comprehension by how they color the pictures.

Other students read the words and draw their own pictures. I check their comprehension by the pictures drawn and the colors used.

The next day is our favorite! We take a walk/hike and look for signs of fall on our school grounds and playground. We take pictures of signs of autumn we discover and collect signs of autumn to bring back to our science center.


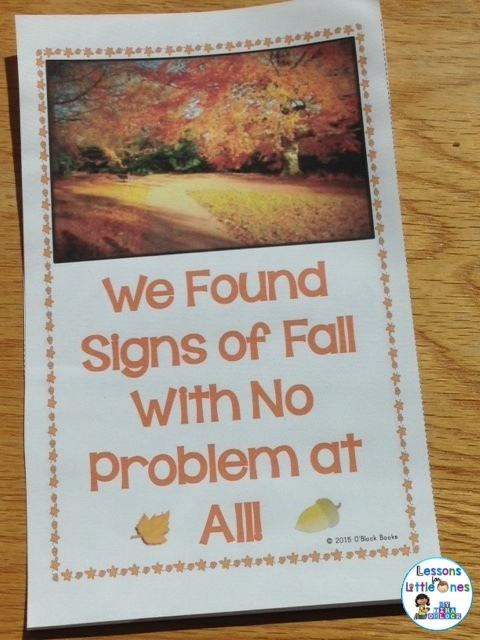
Once we’ve returned to our classroom, we create a class book. Each student creates a page by drawing a picture of a sign or signs of fall and writing a sentence about it using the words from the word wall.

These pages are then bound together to create a class book which is placed in our reading center. Students can also “check it out” like a library book and take it home for one night to share with family and friends.
I have used the Little Bird Tales app to create a class book using the photos we took on our fall walk and more recently Pic Collage (we have the Pic Kids version). To me Pic Collage is easier. You can also have the students do it themselves (yes, it’s that easy!). Here are the steps for Pic Collage:


Load all the pictures from the fall walk onto your iPad.
Take a picture of one of the emergent reader pages. You can choose one of the templates or the blank one if you wish to type all the text or use your own text.
Add the picture of the emergent reader page to Pic Collage and size it to fit the entire screen.
Set it as the background by holding down on the picture and then hitting Set as Background (this keeps it from moving around while you are adding additional pictures and text).
Add a photo from the fall walk and adjust the size and placement.
Add text.
You can save each page and print them out for a book or create a digital book.
If you would like to use the Signs of Fall emergent reader in your classroom click here.